Many print products have more than one printable area. A mug has a front and a back. A tote has two faces. A multi-size poster has one design slot per size. In Composerie a printable area is called a surface, and the Surfaces panel is where you switch between them, name them, rotate them, and decide how one design carries across all of them.
This guide is for merchants who already know the basics of the Design Studio and now work with products that have two or more surfaces. If you are new to the canvas, start with the Design Studio overview first.
Switch and manage surfaces
The Surfaces panel lists every surface on the product. Each surface appears as a row or a tile with a small thumbnail, its name, and a kebab menu (the three-dots button). Click any surface to make it the active one. The active surface expands in place to show its dimensions, an orientation control, a background picker, and a quick link to the Layers panel.
Open the Surfaces panel
In the Design Studio, click the Surfaces icon in the icon rail on the left. The panel opens with one entry per surface. A green dot next to a name means that surface already has content. You can switch the panel between a list and a grid view, and the choice is remembered for next time.
Make a surface active
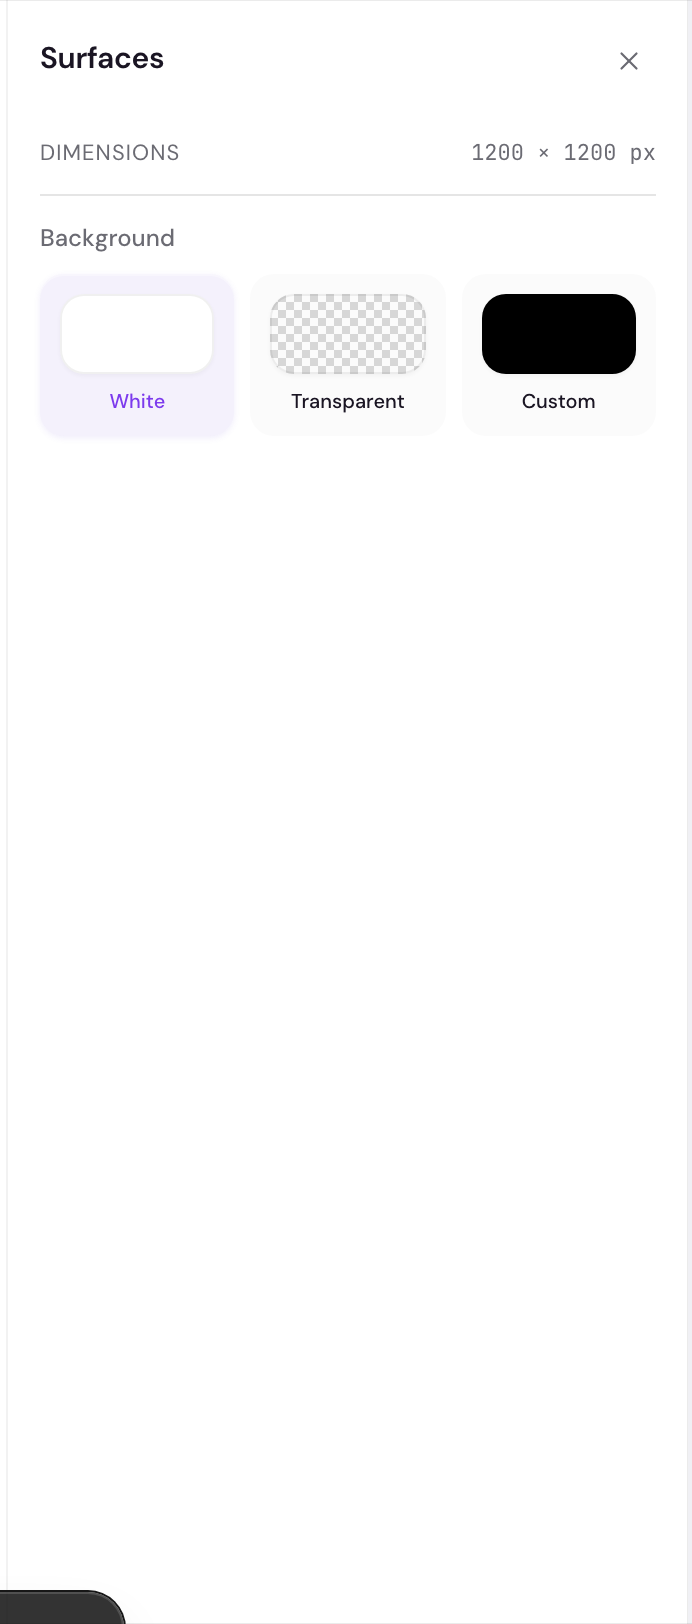
Click a surface to select it. It expands to reveal its Dimensions, the Rotate 90° control, the Background picker, and a Layers button. The canvas switches to show that surface so you can edit it.
Use the kebab menu to manage a surface
Click the three-dots button on a surface to open its menu. From there you can choose Details, Rename, Rotate 90°, Set as primary, Duplicate, Move up, Move down, or Delete. When the design has a shared pool, the menu also offers Link to primary and Unlink from primary. You can also double-click a surface name to rename it inline.
One surface is the primary surface. It is the source for any design you share across surfaces, and it cannot be deleted or moved below the others. Set as primary in the kebab menu changes which surface holds that role.
Rotate a surface
Some variants are taller than they are wide, and some are the reverse. Rotate swaps a surface between portrait and landscape so you can lay out artwork the way it reads best. Rotate changes only how you work in the editor. At fulfillment, the print file is rotated back to the variant’s native orientation, so the printed product comes out correct.
Expand the surface you want to rotate
In the Surfaces panel, click the surface to make it active and expand it. You will see its current Dimensions listed above the Rotate control.
Click Rotate 90°
Click the Rotate 90° button. The surface swaps its width and height, so a portrait surface becomes landscape and the other way round. A Rotated badge appears on the control to confirm the surface is no longer in its native orientation. Click Rotate 90° again to swap it back.
Lay out your artwork
Arrange text, images, and shapes against the rotated canvas. Nothing else changes. The Rotated badge stays until you rotate back.
Apply one design across surfaces
If you want the same artwork on every surface, you do not have to rebuild it on each one. Build the design on a single surface, then push it into a shared pool so every surface mirrors the same elements. After that, you can fine-tune how individual surfaces differ without losing the link.
The button to start this appears in the canvas toolbar when there is no selection, the design has content but no shared pool yet, and the product has two or more surfaces.
Build the design on one surface
Add your text, images, and shapes to one surface and arrange them the way you want them shared. This surface becomes the source.
Click Apply to all surfaces
With nothing selected on the canvas, click Apply to all surfaces in the toolbar. Composerie promotes that surface’s layers into a shared pool. Every surface now mirrors the same elements, so an edit to a pooled element shows up everywhere at once.
Fine-tune how each surface differs
Select a pooled element and open the Fit across surfaces section in the Edit tab. Choose how the element resizes when a surface is wider or narrower: Free, Width, Height, Contain, or Cover. These map to the same behavior as CSS object-fit. You can also hide an element on the current surface with Hide on this surface, or recenter it everywhere with Center on all surfaces.
Link, unlink, and per-surface changes
Once a design is shared, each non-primary surface carries a link toggle next to its name. A closed chain means the surface is synced with the primary and mirrors the pool exactly. Click it to unlink that surface, which freezes its current layout so later pool edits no longer reach it. A broken chain means the surface is independent. Click it to re-sync from the primary.
You can also use Link to primary and Unlink from primary in the kebab menu to set a whole surface at once.
When you change a single pooled element on a non-primary surface (its fit, position, or visibility), that surface keeps an override for that element. The Fit across surfaces section shows a “Customised for this surface” badge with a Reset button. Reset drops the override so the element follows the shared design again.
What is the difference between a surface and the primary surface?
A surface is any printable area on the product, like a mug front or a poster size. The primary surface is the one Composerie treats as the source when you share a design across surfaces. It cannot be deleted or moved below the others.
Does rotating a surface change the printed product?
No. Rotate only changes the orientation you work in. At fulfillment the print file is rotated back to the variant's native orientation, so the product prints correctly.
Why is the Apply to all surfaces button missing?
It appears only when nothing is selected, the design has content but no shared pool yet, and the product has two or more surfaces. If you already pooled the design, the button is gone because the surfaces are already mirrored.
Can one surface look different from the rest?
Yes. After sharing a design, unlink a surface to give it its own layout, or change a single pooled element on that surface to create a per-element override. Use Reset on the override badge to follow the shared design again.
What happens to a surface I delete?
Deleting a surface removes its artwork from the product. If the surface has content, Composerie asks you to confirm first. The last remaining surface cannot be deleted.
Next: learn how to keep a design you have built across surfaces and reuse it on other products in save and reuse templates.