The product page is where you set up one personalizable product before it goes live. This guide walks you through every part of the page so you know what each card does and where to click. It is for merchants who have created a product and want to understand the layout.
To open it, go to Products in the dashboard and click any product in the list. The page splits into three parts: a header at the top, a main column on the left, and a sidebar on the right.
The header and the publish button
The header runs across the top of the page. On the left, it shows the product thumbnail, the product name, and a status pill that reads Draft, Active, or Archived. Below the name you see the variant count and when the product was last edited.
On the right are the actions you take most often:
- The Eye button opens the product in the customizer preview, so you can see exactly what a shopper would.
- The Duplicate button (the copy icon) makes a full copy of the product and takes you to it.
- The More menu (the three dots) holds Archive and Delete.
- Edit design opens the design editor, where you build the artwork and decide which fields shoppers can change.
The green button on the far right changes with the product’s state. It reads one of three things:
- Publish when the product is not yet on a store. Clicking it starts the publish wizard.
- Update when the product is already published but has changes you have not pushed yet. Clicking it sends those changes to your store.
- Published when the product is live and in sync.
So the green button always tells you the next thing to do. If you see Update, you have edits waiting to go out.
What is on the page
Below the header, the page is laid out in two columns.
The main column on the left stacks three sections:
- Variants: the sizes, colors, and other options for the product. See variants and options for how to set these up.
- Add-ons: optional extras a shopper can choose, like gift wrap or a rush option. See add-ons for the details.
- SEO and social: the title, description, and preview image used when the product is shared or found in search.
The sidebar on the right stacks a set of compact cards:
- Publish checklist: what still needs doing before you can publish. It hides itself once everything passes.
- Connected stores: which stores the product is on, and a link to connect another.
- Design: a preview of the linked design with a quick link into the editor.
- Fulfilment method: shown only for products you fulfil yourself, where you choose between printing and shipping it or letting the customer download the file.
- Performance: revenue, orders, views, and conversion for the last 30 days.
- Organization: the collection, category, and tags for the product.
- Activity: a short list of recent events for this product.
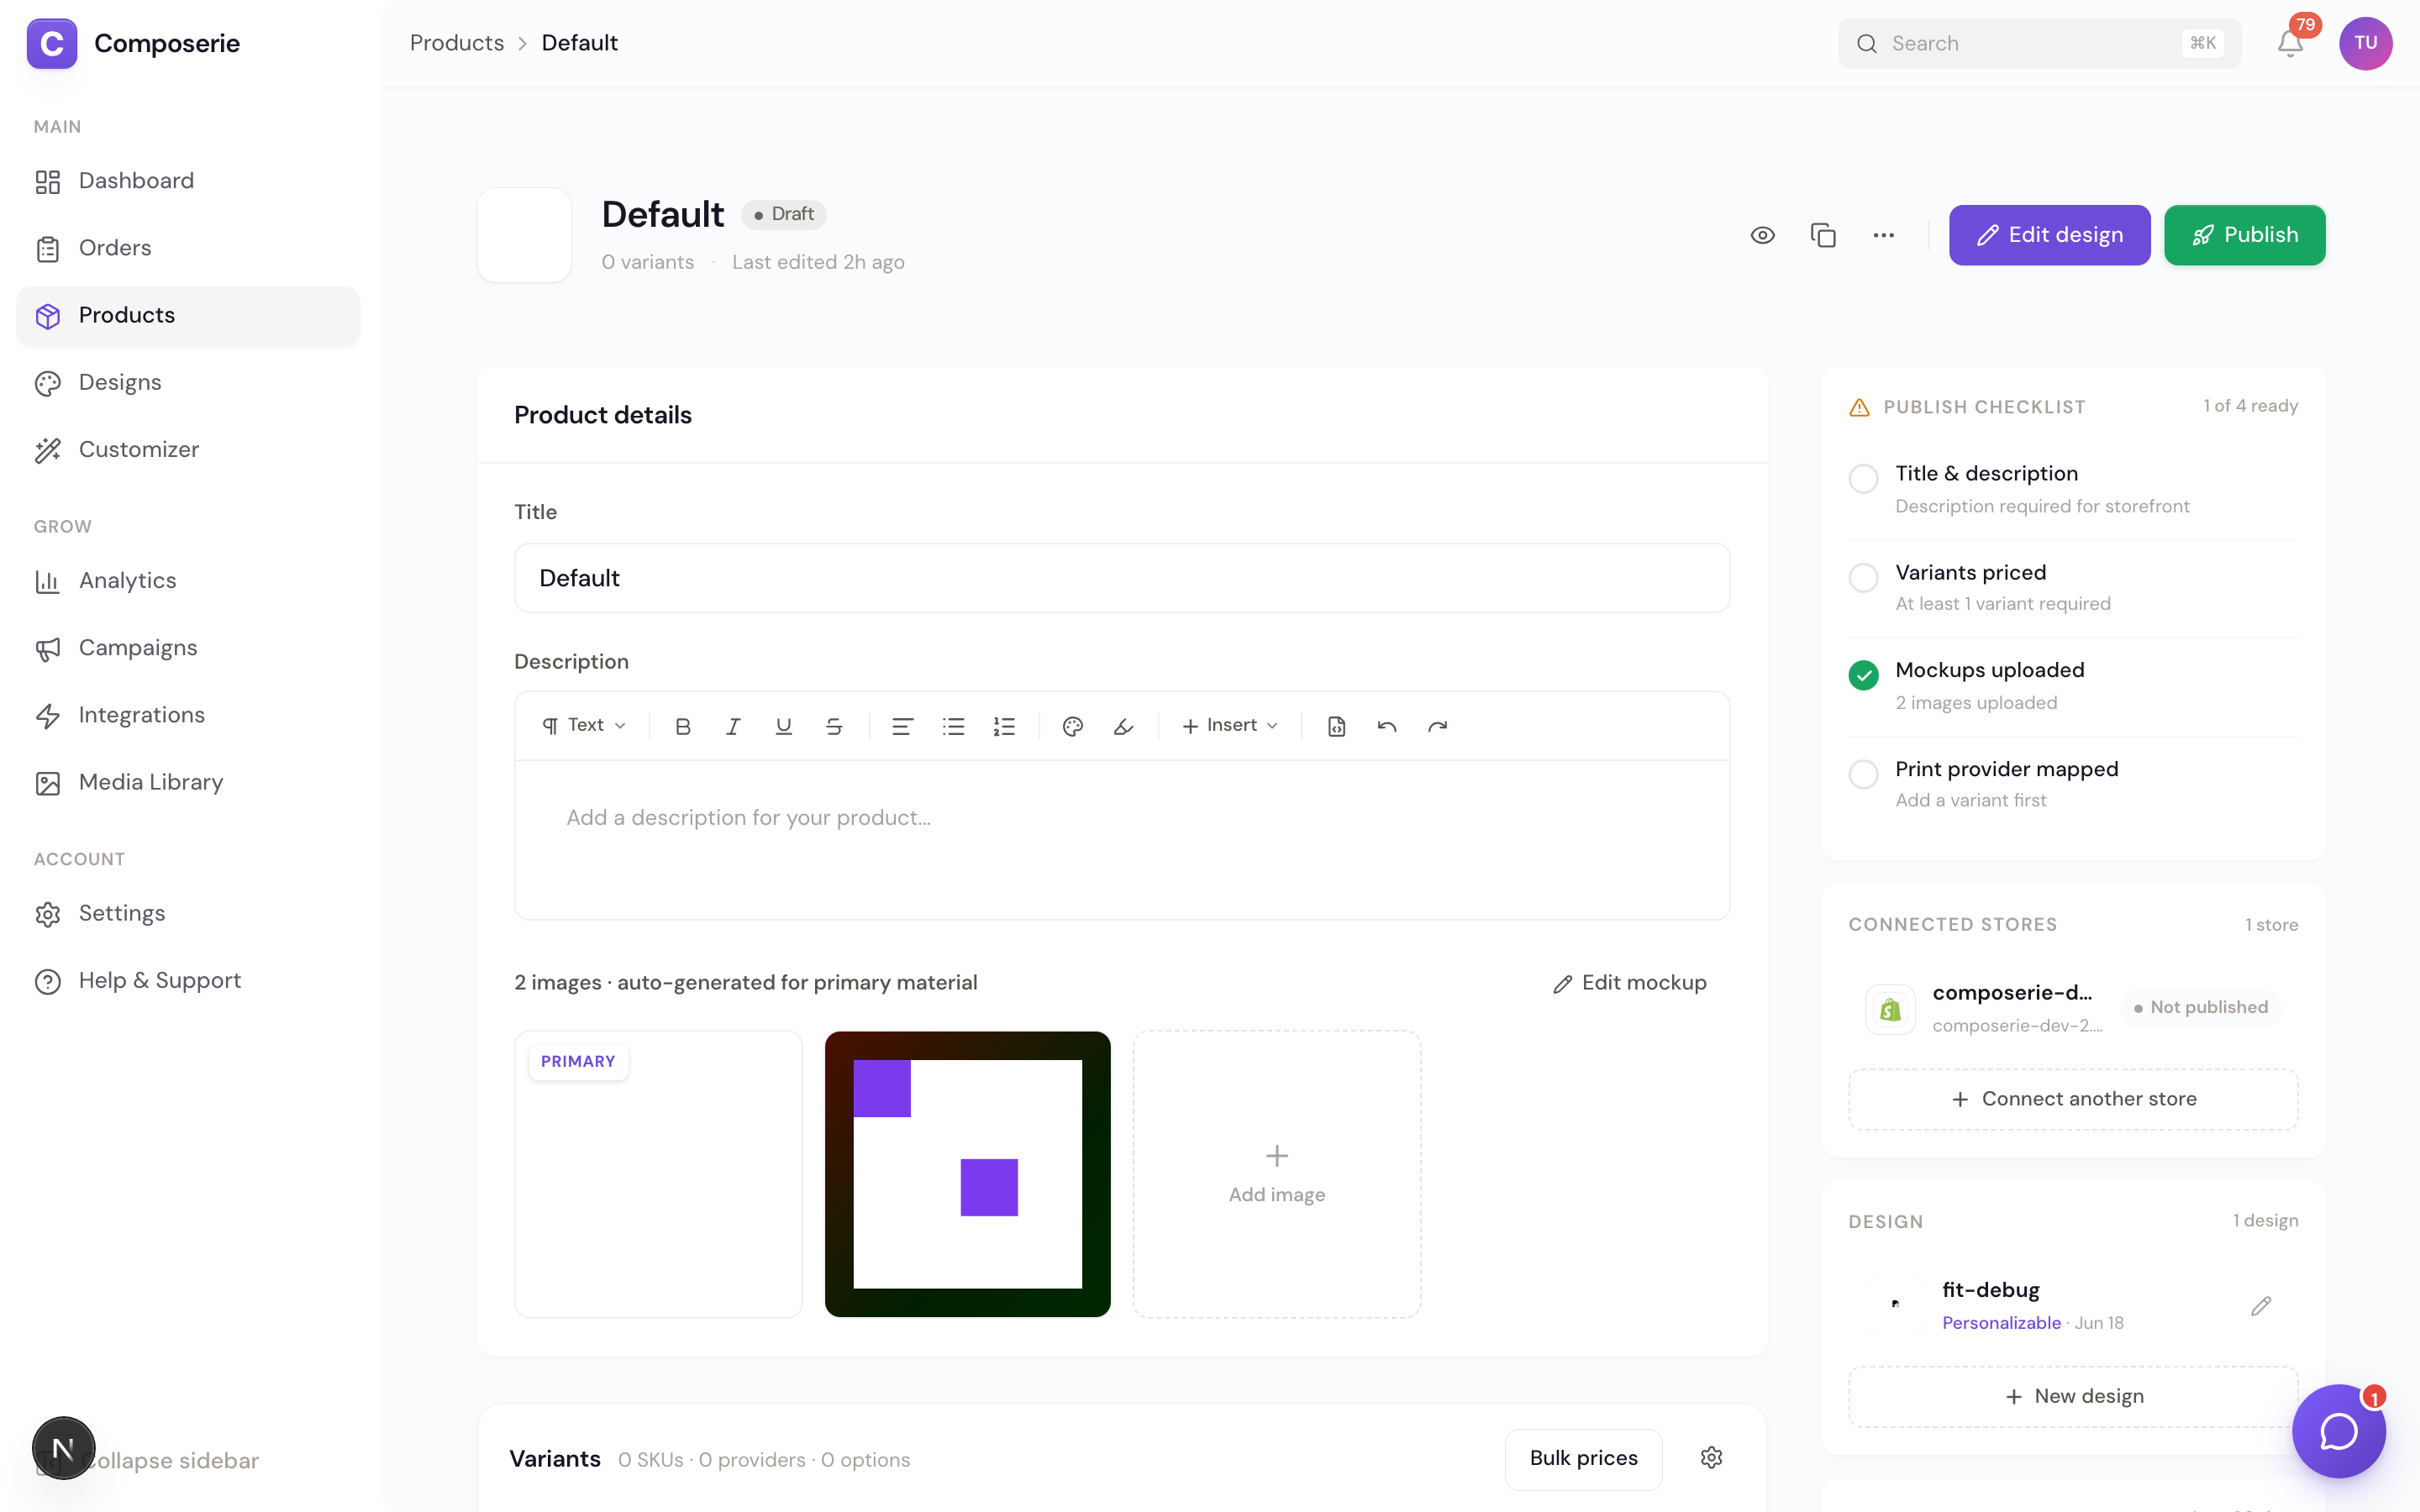
The publish checklist
The publish checklist is the card to watch before you go live. It tracks four things that must be in place, and shows how many are ready at the top (for example, 2 of 4 ready). The four checks are:
- Title & description: both the product title and its description are filled in.
- Variants priced: you have at least one variant and every variant has a price.
- Mockups uploaded: at least one product image is uploaded. If none are, the card gives you an Upload link.
- Print provider mapped: every variant is routed to a print provider. For products you fulfil yourself, this row reads Fulfilment method instead.
When all four checks pass, the checklist disappears on its own. If you later change something that breaks a check, the card comes back. To learn the full flow, read publish a product to your storefront.
Edits are saved together
When you change a field on this page, your edit is staged, not saved right away. A save bar appears at the bottom of the page and collects your changes. Click it to save them all in one go.
This means you can edit a few fields across different cards, then save once. If you leave without saving, your staged changes are not kept.
Why does my button say Update instead of Published?
The product is live but has edits you have not pushed yet. Click Update to send the latest changes to your store.
Where did the publish checklist go?
It hides itself once all four checks pass. It comes back if a change breaks one of them.
What is the difference between Archive and Delete?
Archive hides the product but keeps its data. Delete removes it for good and can also remove it from your store. Both are in the More menu.
Next
Set up the options shoppers can pick from in variants and options.