Every element you add to a design (text, an image, a shape, a graphic) becomes a layer. The Layers panel is where you see all of them in one list. This guide shows you how to use it to select, rename, hide, lock, reorder, group, and isolate elements, and how to control what sits in front of what. It is written for anyone building a personalizable product in the Design Studio.
Open the Layers panel
The Layers panel lives in the Design Studio sidebar. Open it, and you get one row per element on the canvas.
Click Layers in the icon rail
The icon rail runs down the side of the Design Studio. Click Layers to open the panel. The panel lists every element in your design from top to bottom.
Read each row
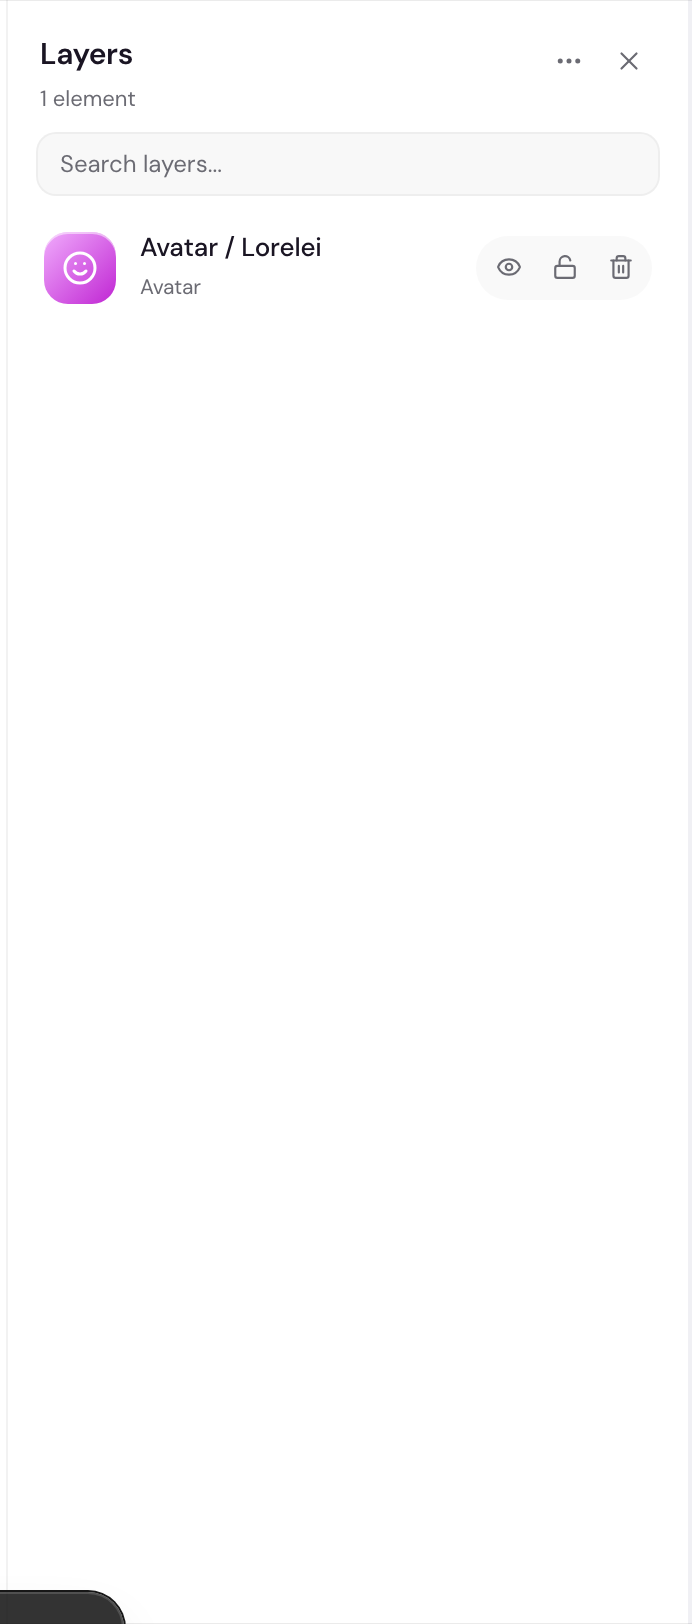
Each row shows a colored type icon (so you can tell text from an image at a glance), the layer name, and a small subtitle below it. Text layers show their font and size; image layers show their dimensions; a group shows how many items it holds.
Select an element from the list
Click a row to select that element on the canvas. Selecting a row and selecting the element are the same action, so the panel and the canvas always stay in sync. To select more than one, hold Cmd (Mac) or Ctrl (Windows) and click additional rows.
Reorder, group, and lock
Most layer work happens with two gestures: dragging rows to reorder or nest them, and right-clicking a row for the full set of actions. The eye and lock buttons on each row handle the quick stuff.
Drag a layer to change its stacking order
Press on a row and drag it up or down. A violet bar shows where the layer will land. Drop it above another row to move it forward, or below to move it back. The canvas updates to match the new order.
Drop a layer into a group
A group is a folder that holds several layers and moves them as one. When you drag a row over a group, the drop indicator can show above, below, or into the group. Drop it onto the middle of the group to nest it inside. Click the chevron on a group row to expand or collapse its contents.
Hide a layer with the eye, lock it with the lock
Each row has an always-visible cluster of three buttons: an eye, a lock, and a delete button. Click the eye to hide a layer (the row dims and its name gets a line through it). Click it again to show the layer. Click the lock to prevent edits; the row turns amber and its subtitle reads Locked. Click the delete button (the trash icon) to remove the layer.
Right-click a row for everything else
Right-click any layer to open its menu. From here you can Rename, Duplicate, Show or Hide, Lock or Unlock, and run the full set of stacking actions: Bring forward, Send backward, Bring to front, Send to back. You can also Group selected, Ungroup, Isolate, and Delete. Most actions show their keyboard shortcut next to them.
You can also rename a layer without the menu: double-click its name, type the new name, and press Enter. Clear names (like “Customer name” or “Logo”) make the rest of your work easier, and they help when you decide which fields a shopper can edit.
What each menu action does
- Rename: edit the layer name inline.
- Duplicate: make a copy of the layer.
- Show / Hide: toggle whether the layer appears on the canvas.
- Lock / Unlock: stop a layer from being moved or edited, or release it.
- Bring forward / Send backward: move the layer one step up or down the stack.
- Bring to front / Send to back: move the layer all the way to the top or bottom.
- Group selected: combine two or more selected layers into one group. Select the layers first.
- Ungroup: break a group back into its individual layers.
- Isolate: focus on one layer so you can work on it without the others in the way.
- Delete: remove the layer from the design.
Two kinds of lock
There are two ways a layer can be locked, and they behave differently.
The first is a normal lock that you toggle yourself with the lock button or the menu. It stops the layer from being moved or edited by accident. You can unlock it any time by clicking the lock again.
The second is a template lock. This one is set on the design and also blocks deletion. When a layer is template-locked, the delete button is greyed out and its tooltip tells you to unlock it first. This protects the parts of a design you do not want a teammate (or your future self) to remove.
Common questions
Why can I not delete a layer?
It is template-locked. A template lock blocks deletion. Unlock the layer first, then delete it.
How do I select more than one layer?
Hold Cmd on Mac or Ctrl on Windows and click each row. With two or more selected, the right-click menu shows Group selected.
What is the difference between hide and lock?
Hide removes the layer from view but keeps it in the design. Lock keeps the layer visible but stops it from being moved or edited.
My element disappeared behind another one. What happened?
Its layer moved down the stack. Drag the row higher in the Layers panel, or right-click and choose Bring to front.
What does Isolate do?
It focuses the canvas on a single layer so you can work on it without the other elements getting in the way.
Next
Once your layers are in order, line them up cleanly with align and distribute. For the shortcuts behind reorder, group, and undo, see keyboard shortcuts and undo.