This guide shows you how to add graphics to your design in the Design Studio. Use it when you want to drop in a shape, an icon, an emoji, a background pattern, or one of your own brand uploads. It is written for anyone setting up a personalizable product, no design experience needed.
The Graphics panel is one place for all of these. It brings together shapes, a library of 250,000+ icons, emojis, background patterns, and your organization’s brand assets. You add any item with a single click.
Open the Graphics panel
The Graphics panel lives in the Elements panel of the Design Studio. Opening it gives you five tabs to browse.
Click the Graphics tile
In the Elements panel, click the Graphics tile. The Graphics panel opens in the sidebar. This one panel replaces the old separate Clipart and Shapes tiles.
Pick a tab
The panel opens on five tabs: Shapes, Icons, Emojis, Backgrounds, and Brand. Click a tab to switch between them.
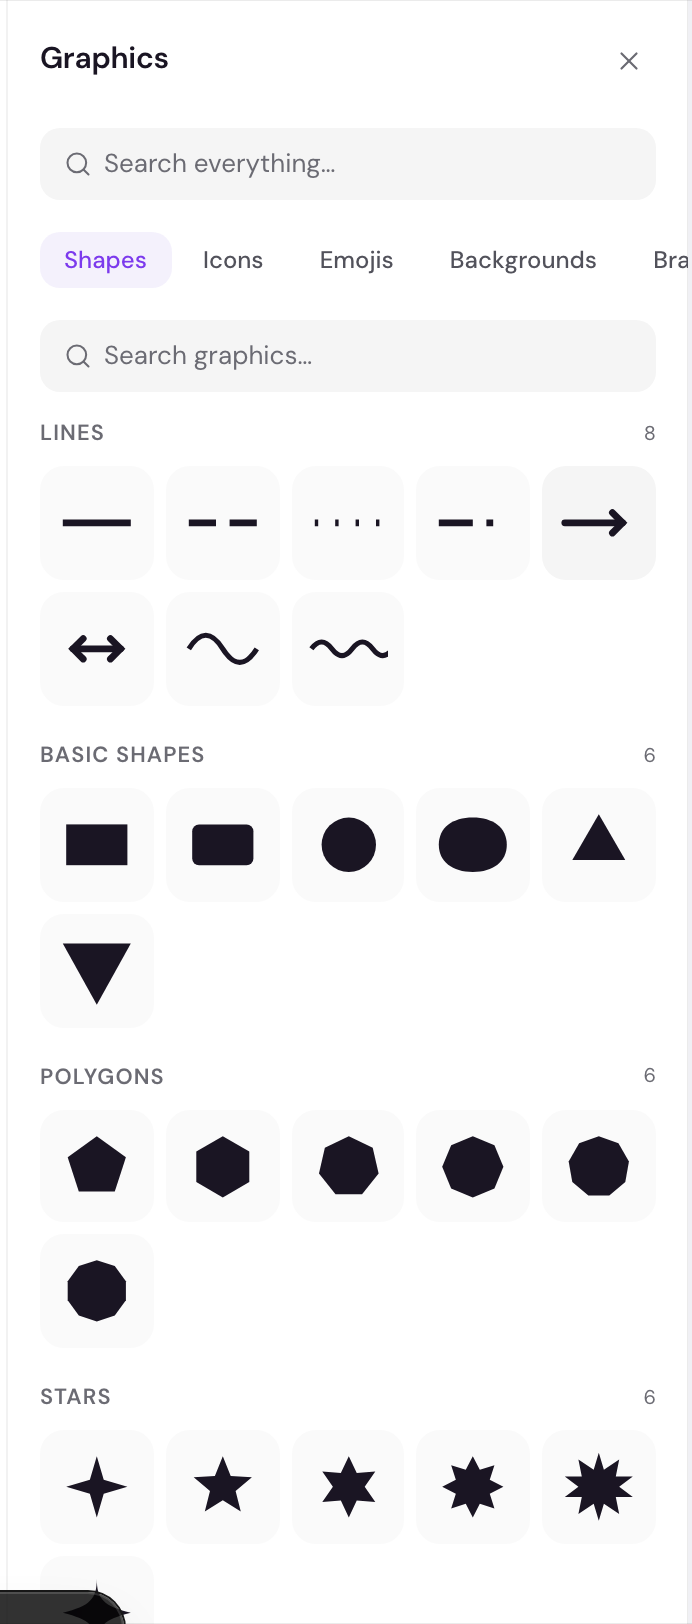
Click an item to add it
Each tab shows a grid of items. Click any item in the grid to add it to the canvas. It drops into the center of your design, and the Properties panel opens so you can edit it right away.
Most items you add are recolorable, so you can match them to your design. To change a fill, see colors and fills.
Search across all sources
A search bar sits at the top of the Graphics panel, above the tabs. It searches everything at once, so you do not need to know which tab an item lives in.
Type a keyword
Type a word into the search bar, like heart or star. The search runs across the icon library and the Shapes, Emojis, and Backgrounds catalogs at the same time.
Read the grouped results
Results come back grouped by source. You see sections for Icons, Shapes, Emojis, and Backgrounds, so you can tell at a glance which tab each result belongs to. The icon results may take a moment to load while the rest appear instantly.
Click a result to add it
Click any result to drop it on the canvas. The search clears so you can see the new item in your design.
For the difference between shapes and other graphics, see add shapes. For uploading your own photos, see add images and photos.
Use your brand uploads
The Brand tab holds graphics your team has uploaded, like a logo or a recurring motif. These assets are shared across your whole organization, so anyone on your team can reuse them.
Open the Brand tab
In the Graphics panel, click the Brand tab. It loads the graphics already uploaded for your organization.
Upload a file
Click the upload button and pick a file. The Brand tab accepts SVG, PNG, JPG, and WebP files. After it uploads, the new asset appears in the grid.
Click a thumbnail to add it
Click any thumbnail to add that asset to the canvas. It drops into the center of your design, the same as the other tabs.
Frequently asked questions
What happened to the Clipart and Shapes tiles?
They are now combined into one Graphics tile in the Elements panel. The Graphics panel holds shapes, icons, emojis, backgrounds, and your brand uploads in one place.
How many icons can I search?
The icon library has more than 250,000 icons. Type a keyword in the search bar at the top of the Graphics panel to find one.
Why did my icon come in as a plain image?
Composerie turns most icons into a recolorable graphic. A few icons cannot be split that way, so they come in as a plain image. They still appear on the canvas, but you cannot recolor them in place.
What file types can I upload to the Brand tab?
You can upload SVG, PNG, JPG, and WebP files. Uploaded assets are shared with everyone in your organization.
Next
Once your graphic is on the canvas, set its color in colors and fills.